Jim and I had our first session of “at least a half hour of creative time” together last night. It felt good to be creating side-by-side with him again 🙂 We ended up naturally and comfortably going for 2-1/4 hours!
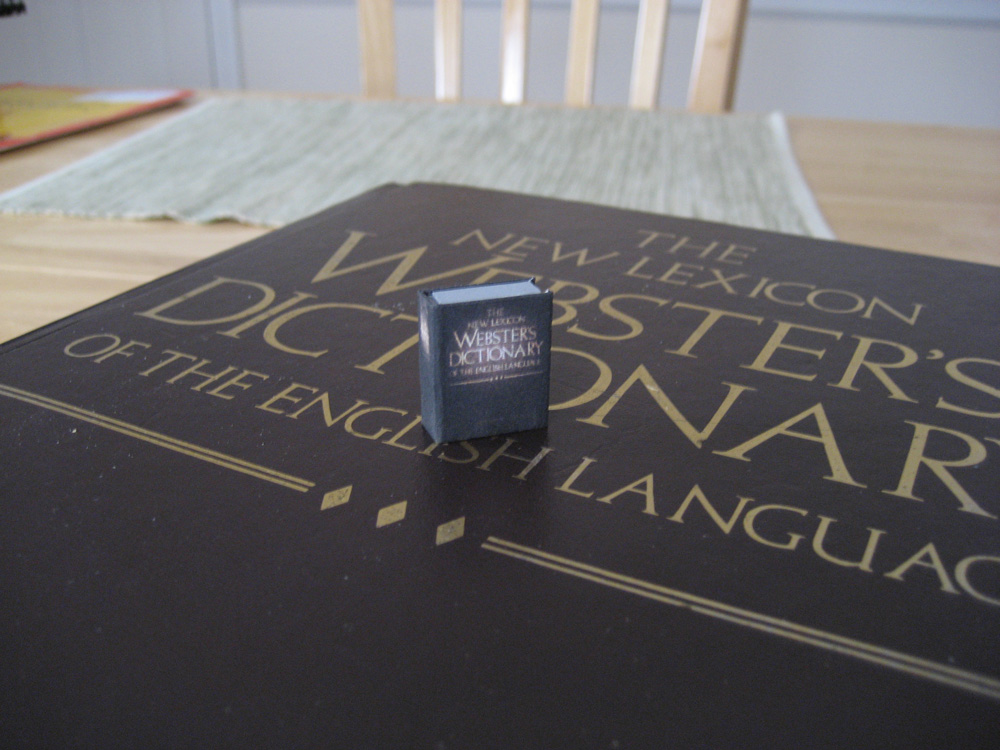
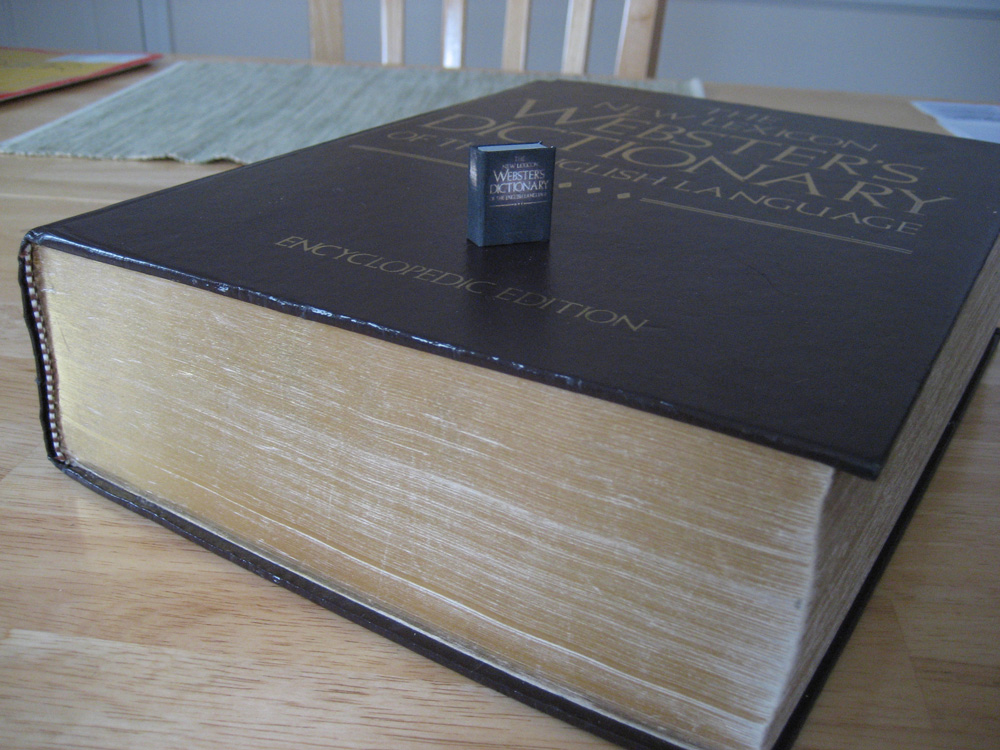
While Jim enjoyed playing with color and sketching faces that had surreal elements (as he often does!), I worked on the first “sketch” of a 1:12 model of my old dictionary.
My new friend, Nancy Enge does the most wonderful miniatures – and has inspired me to go in that direction for my “holy-crap-that’s-a-scary-mountain” life goal. (A topic for another post.)
For the dictionary “Sketch”: It took me a little while to figure out the math involved but after I figured it out, I measured and cut what I needed. Since I just wanted to get a “quick and dirty” model, I took a snapshot of the cover and spine, placed it in InDesign and sized it down to what I needed & printed it out. It looked SO CUTE!
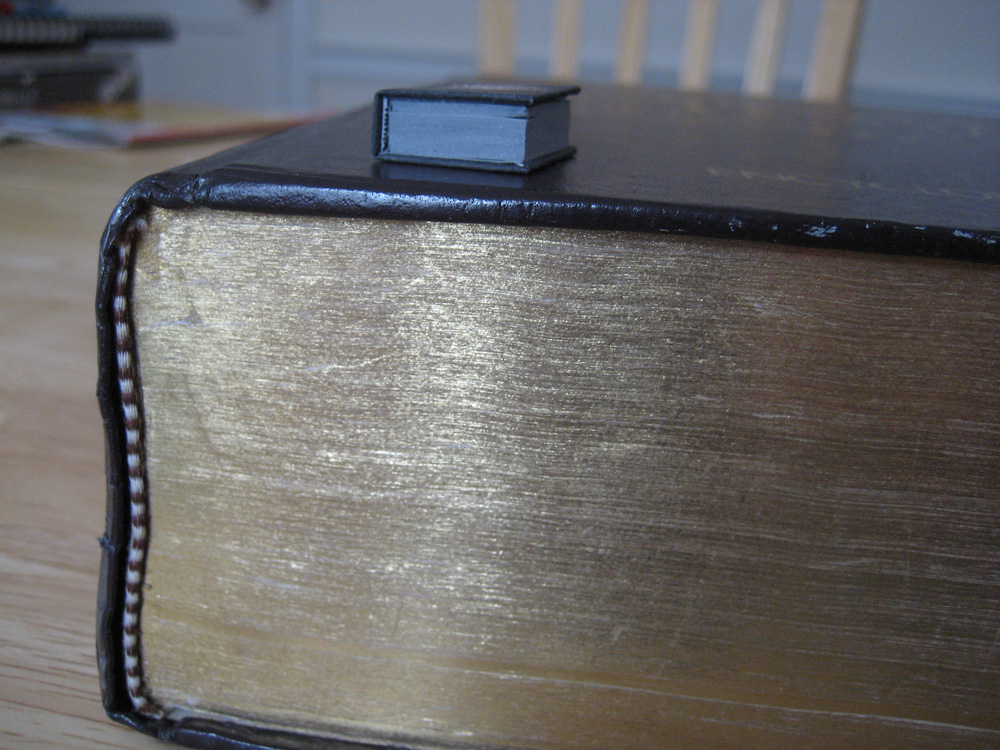
What I learned from this “sketch”: I need to NOT use card stock for the spine! I realized afterwards that I shouldn’t have used it. My dictionary didn’t have a hard spine. It was force-of-habit for me to create a spine. (I make mini-books – just haven’t done it “to scale” with a real book before.)
For the final, I’ll either recreate the text or take a better shot of the cover. It would be awesome to have gold leaf paint for both the text on the cover and for the page edges, but that intimidates the heck out of me. I’ll post when I have more on this.
So awesome Jean!!!! I love it and I love that you and Jim are creating side-by-side. How fun 🙂 and I love this blog xo
Yay Jean! This looks great! Learning by doing is my preferred method. As for the gold edges, a metallic paint pen on the edges of the page block works well. Looking forward to seeing more 🙂